Mfr Part # SC1432
SBC 2.4GHZ 4 CORE 8GB PI 5
Raspberry Pi
Microphone LED Strips Single Board Computers Interconnect Cable Ribbon / Flat Cables Raspberry Pi SBC
Guide by Tim C
Moonshine Voice is an open source project for real-time voice transcription. It's primarily suited for streaming and live audio capture for voice based interfaces. This project will demonstrate how to use Moonshine to set up basic voice control for NeoPixels on a Raspberry Pi.
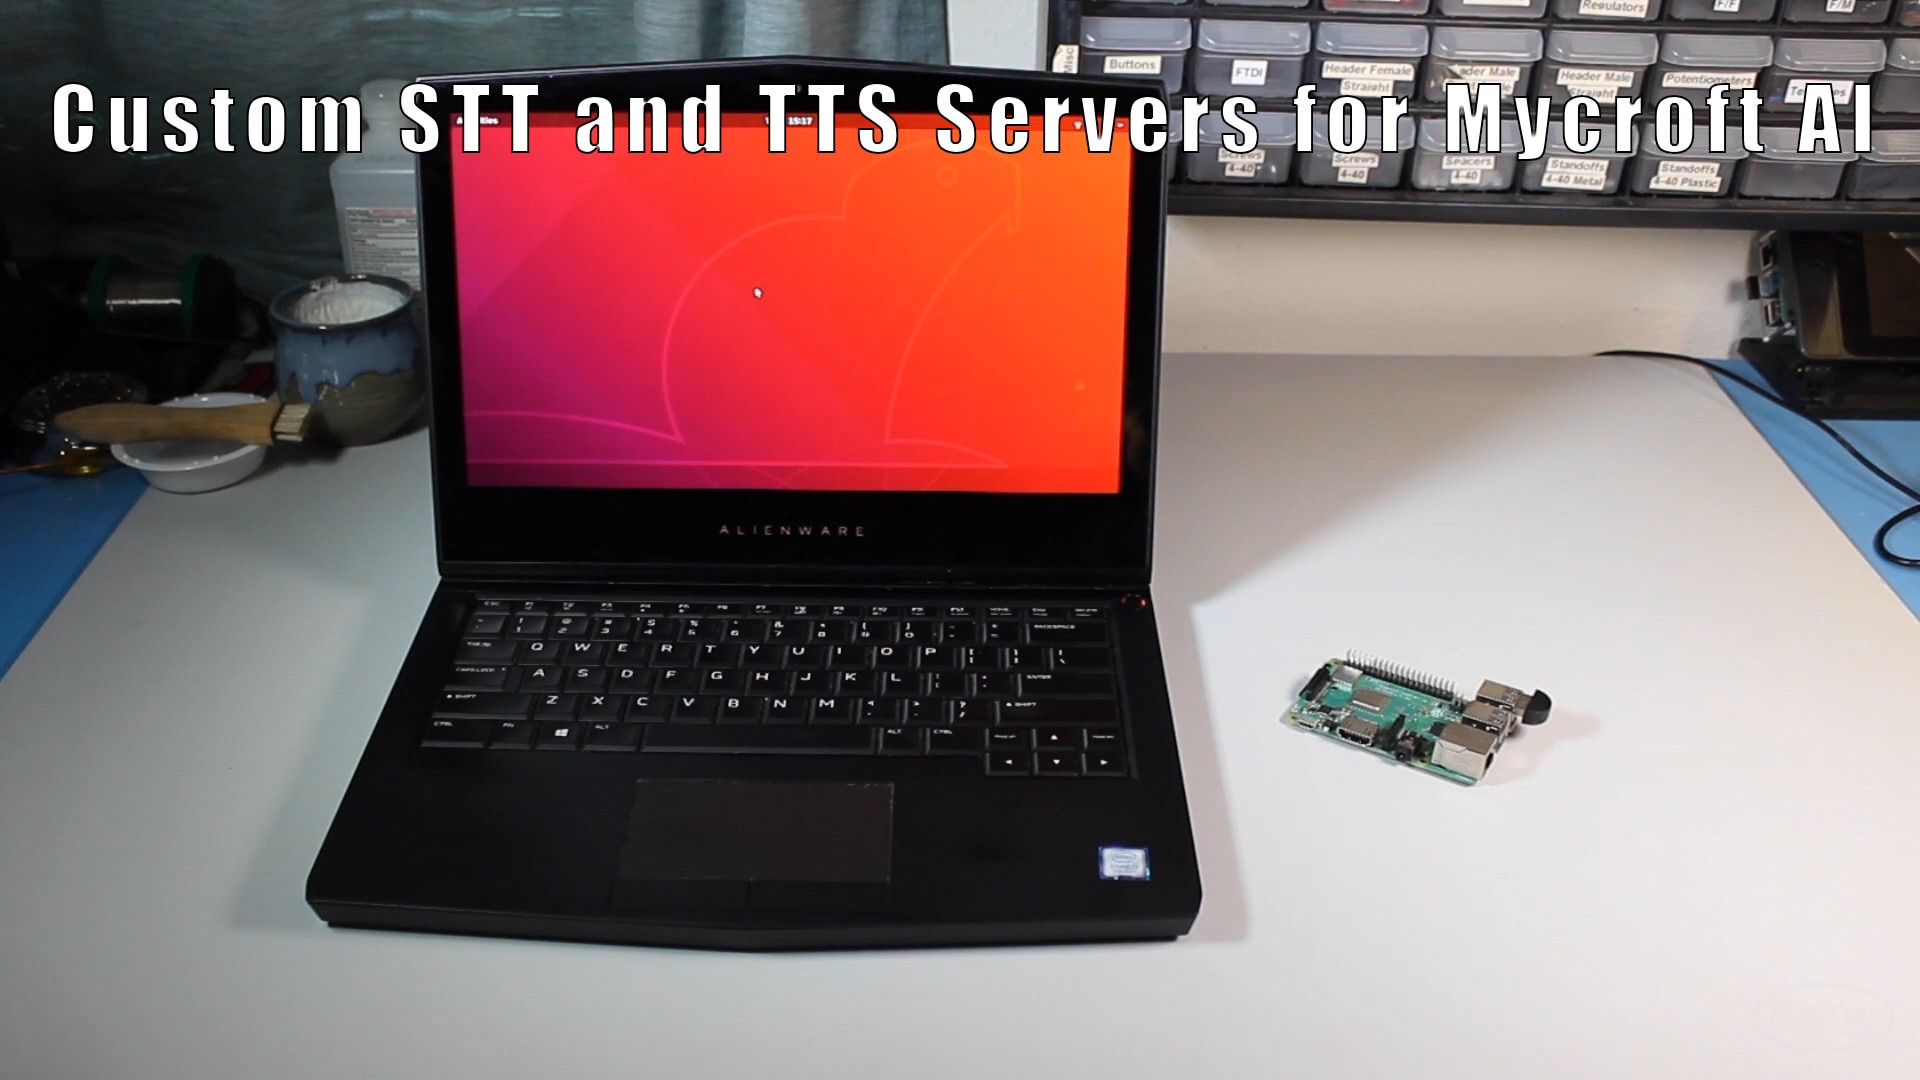
All testing was performed on a Raspberry Pi 5 with 8gb of RAM.
Any standard USB Microphone that works on the Raspberry Pi should work with Moonshine. This mini microphone in the shop is one option:
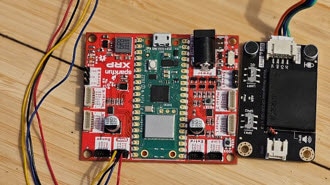
The Pi Cobbler and breadboard are optional, they make it more convenient to connect the NeoPixels to the correct pins on the Raspberry Pi:
Plug in a standard USB microphone into one of the available Raspberry Pi USB ports.
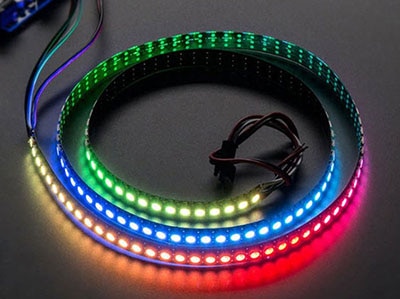
Connect a strip of NeoPixels to the Raspberry Pi using one of the following methods.
A Pi Cobbler makes the wiring easy with clearly labeled pins. A 2x20 ribbon cable connects the Pi GPIO pins to the Cobbler breakout.
To connect a NeoPixel LED strand, make the following wiring connections while the Pi is powered off and unplugged from its power adapter:


You can also wire the NeoPixels directly to the Raspberry Pi
To connect a NeoPixel LED strand, make the following wiring connections while the Pi is powered off and unplugged from its power adapter:

Use the Raspberry Pi Imager to load a fresh image of Raspberry Pi OS (64-bit) onto a micro SD card. Once the SD card is ready, insert it into the Pi 5 and boot up.
Run these commands to update all of the pre-loaded software.
sudo apt update
sudo apt upgrade
Next install Adafruit Blinka on the Raspberry Pi by following the instructions in the Blinka Learn Guide.
Be sure that you activate the same Python virtual environment that Blinka was installed in when you install Moonshine. The code for this project needs to utilize both Blinka and Moonshine together, so both must be installed in the same environment.
If it's not already active, then activate the environment with a command like this one adapted for the path and name of your virtual environment if they are different.
source env/bin/activate
Install moonshine-voice using pip with this command.
pip install moonshine-voice
The first time that you use the moonshine-voice library, it will download the required model files. To download them now, and ensure that the install is working properly, use this command to launch the basic transcription example.
python -m moonshine_voice.mic_transcriber --language en
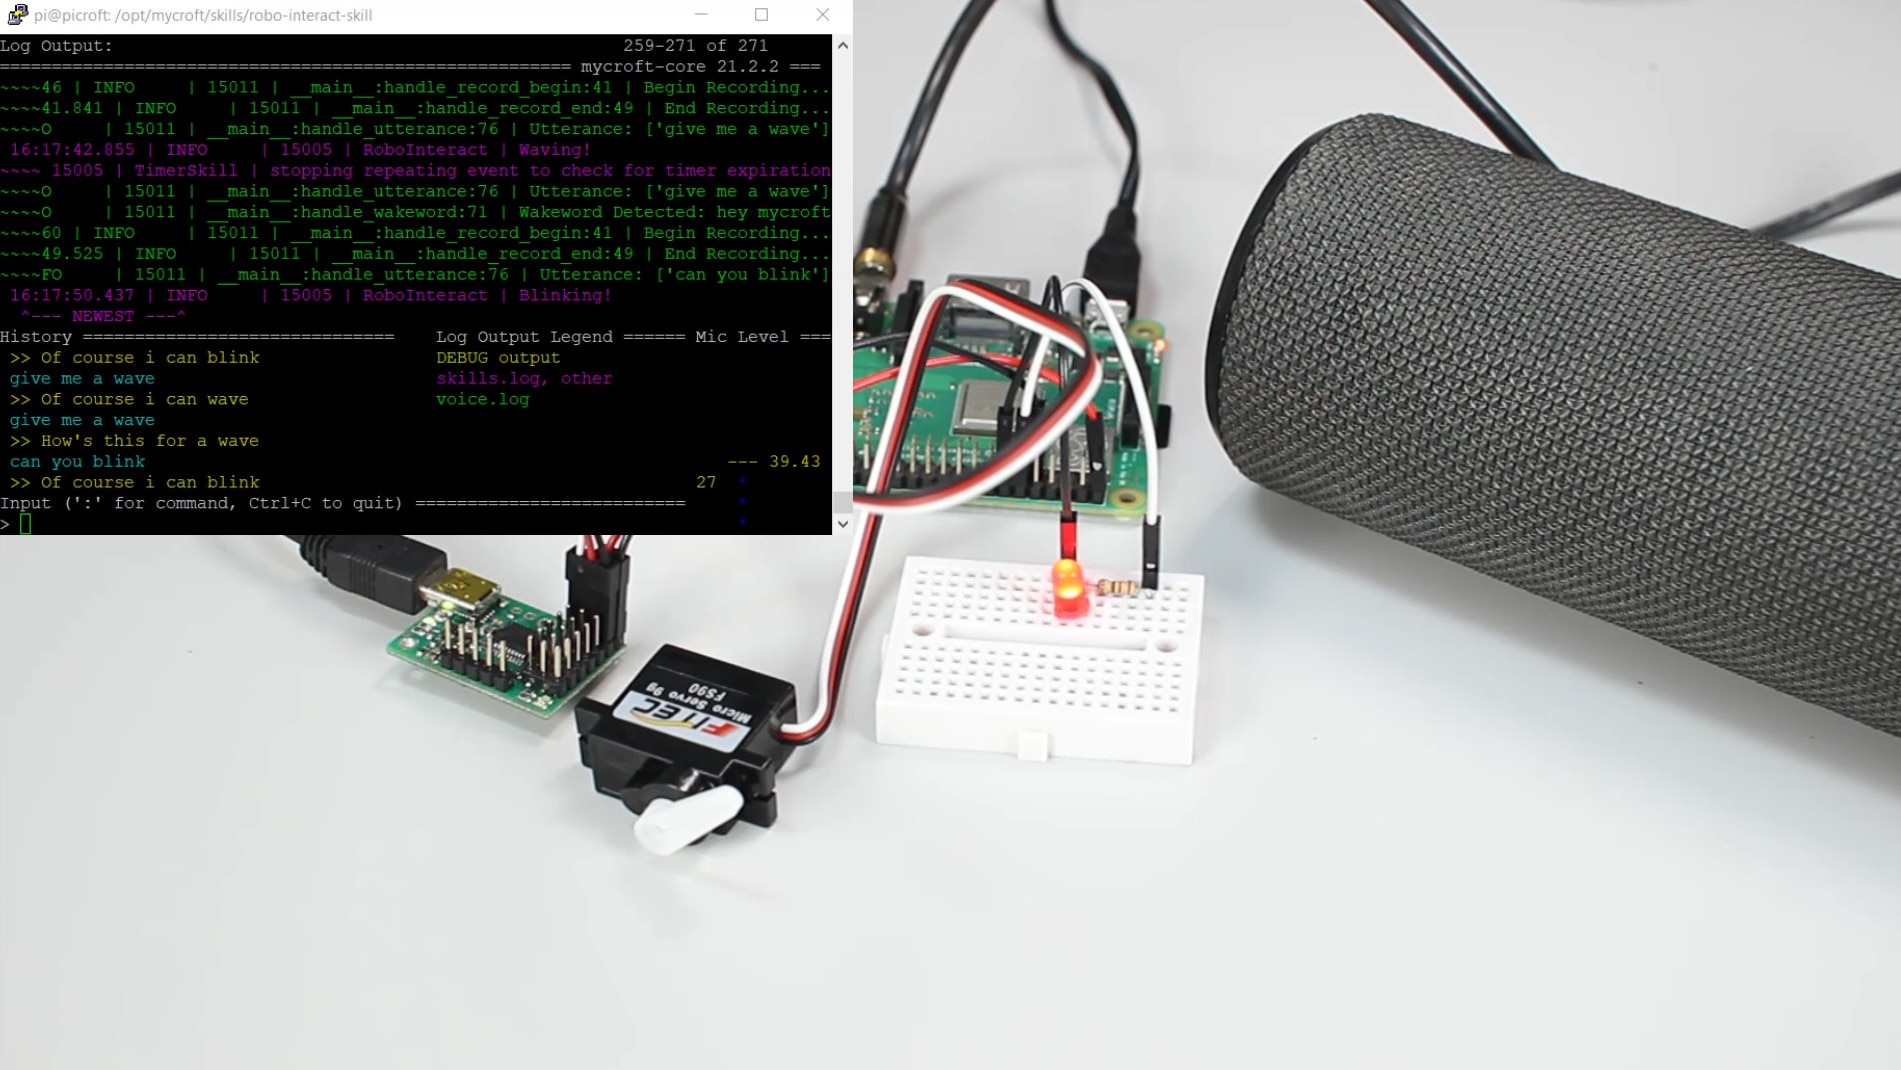
It will take a moment to initialize and then begin listening to the microphone and transcribing the words that it hears.
Press Ctrl+C when you want to exit the transcription example.
The Moonshine project contains many great examples. These examples make a great starting point to be adapted into other projects like the one in this guide.
Download or copy the code below to your Raspberry Pi. This example uses the NeoPixel LED strip.
After downloading the code launch it with Python inside of the same virtual environment set up previously.
python voice_control_lights.py
# SPDX-FileCopyrightText: 2026 Tim Cocks for Adafruit Industries
#
# SPDX-License-Identifier: MIT
"""
Adapted from Moonshine my-dalek example:
https://github.com/moonshine-ai/moonshine/blob/main/examples/raspberry-pi/my-dalek/my-dalek.py
"""
import argparse
import sys
import time
import board
import neopixel
from moonshine_voice import (
    MicTranscriber,
    TranscriptEventListener,
    IntentRecognizer,
    get_model_for_language,
    get_embedding_model,
)
from adafruit_led_animation.animation.colorcycle import ColorCycle

# pylint: disable=global-statement

# NeoPixels setup
PIXEL_PIN = board.D26  # pin that the NeoPixel is connected to
pixels = neopixel.NeoPixel(PIXEL_PIN, 30, brightness=0.1)

# CLI args setup
parser = argparse.ArgumentParser(
    description="Control NeoPixels using your voice on a Raspberry Pi"
)
parser.add_argument(
    "--model-arch",
    type=int,
    default=None,
    help="Model architecture to use for transcription",
)
parser.add_argument(
    "--embedding-model",
    type=str,
    default="embeddinggemma-300m",
    help="Embedding model name (default: embeddinggemma-300m)",
)
parser.add_argument(
    "--threshold",
    type=float,
    default=0.6,
    help="Similarity threshold for intent matching (default: 0.6)",
)
args = parser.parse_args()


class TranscriptPrinter(TranscriptEventListener):
    """Listener that prints transcript updates to the terminal."""

    def __init__(self):
        self.last_line_text_length = 0

    def update_last_terminal_line(self, new_text: str):
        print(f"\r{new_text}", end="", flush=True)
        if len(new_text) < self.last_line_text_length:
            diff = self.last_line_text_length - len(new_text)
            print(f"{' ' * diff}", end="", flush=True)
        self.last_line_text_length = len(new_text)

    def on_line_started(self, event):  # pylint: disable=unused-argument
        self.last_line_text_length = 0

    def on_line_text_changed(self, event):
        self.update_last_terminal_line(f"{event.line.text}")

    def on_line_completed(self, event):
        self.update_last_terminal_line(f"{event.line.text}")
        print()  # New line after completion


# Load the transcription model
print("Loading transcription model...", file=sys.stderr)
model_path, model_arch = get_model_for_language("en", args.model_arch)

# Download and load the embedding model for intent recognition
quantization = "q4"
print(
    f"Loading embedding model ({args.embedding_model}, variant={quantization})...",
    file=sys.stderr,
)
embedding_model_path, embedding_model_arch = get_embedding_model(
    args.embedding_model, quantization
)

# Create the intent recognizer (implements TranscriptEventListener)
print(f"Creating intent recognizer (threshold={args.threshold})...", file=sys.stderr)
intent_recognizer = IntentRecognizer(
    model_path=embedding_model_path,
    model_arch=embedding_model_arch,
    model_variant=quantization,
    threshold=args.threshold,
)

colors = [
    ("red", (255, 0, 0)),
    ("blue", (0, 0, 255)),
    ("green", (0, 255, 0)),
    ("yellow", (255, 255, 0)),
    ("orange", (255, 95, 0)),
    ("pink", (255, 0, 255)),
    ("purple", (90, 0, 255)),
    ("turquoise", (0, 255, 255)),
    ("off", (0, 0, 0)),
    ("black", (0, 0, 0)),
]

# Disco Party animation setup
disco_party = ColorCycle(pixels, speed=0.35, colors=[_[1] for _ in colors[:8]])
run_disco_animation = False


def build_lights_color_callback_function(input_data):
    """
    Given a tuple with color name, and RGB values like:
    ("red", (255, 0, 0))
    Create and return an intent trigger callback function
    that turns the NeoPixels the specified color.
    """

    def lights_color_callback(trigger: str, utterance: str, similarity: float):
        print("###########################")
        print(f"# {trigger} - {utterance} - {similarity}")
        print(f"# Turning lights {input_data[0]}")
        print("###########################")
        global run_disco_animation
        run_disco_animation = False
        pixels.fill(input_data[1])
        pixels.show()

    return lights_color_callback


def on_disco_party(trigger: str, utterance: str, similarity: float):
    """
    Intent trigger listener callback function for Disco Party command.
    Enables the disco party animation boolean.
    """
    print("###########################")
    print(f"# {trigger} - {utterance} - {similarity}")
    print("# Disco Party!")
    print("###########################")
    global run_disco_animation
    run_disco_animation = True


# Register intents with their trigger phrases and handlers
intents = {
    "disco party": on_disco_party,
}
# Add intents for all color commands
for color in colors:
    intents[f"lights {color[0]}"] = build_lights_color_callback_function(color)
    intents[f"{color[0]} lights"] = build_lights_color_callback_function(color)

for intent, handler in intents.items():
    intent_recognizer.register_intent(intent, handler)
print(f"Registered {intent_recognizer.intent_count} intents", file=sys.stderr)

# Initialize transcriber
transcriber = MicTranscriber(model_path=model_path, model_arch=model_arch)

# Add both the transcript printer and intent recognizer as listeners
# The intent recognizer will process completed lines and trigger handlers
transcript_printer = TranscriptPrinter()
transcriber.add_listener(transcript_printer)
transcriber.add_listener(intent_recognizer)

print("\n" + "=" * 60, file=sys.stderr)
print("🎤 Listening for voice commands...", file=sys.stderr)
print("Try saying phrases with the same meaning as these actions:", file=sys.stderr)
for intent in intents.keys():  # pylint: disable=consider-iterating-dictionary
    print(f"  - '{intent}'", file=sys.stderr)
print("=" * 60, file=sys.stderr)
print("Press Ctrl+C to stop.\n", file=sys.stderr)

transcriber.start()
try:
    # Loop forever, listening for voice commands,
    # and showing NeoPixel animation when appropriate.
    while True:
        if run_disco_animation:
            disco_party.animate()
        time.sleep(0.01)
except KeyboardInterrupt:
    print("\n\nStopping...", file=sys.stderr)
finally:
    intent_recognizer.close()
    transcriber.stop()
    transcriber.close()
The first thing the code does after imports is initialize the strand of 30 NeoPixels connected to GPIO pin D26. They are set to 0.1 brightness to go easy on the retinas but feel free to adjust if you have something to diffuse or obstruct direct vision of the LEDs.
The script supports a number of command line arguments to control its behavior.
A TranscriptPrinter class is defined that extends Moonshine's TranscriptEventListener. The functions implemented within it simply print to the terminal as the transcription is happening. The most recently printed line is updated over time as the model works. This is not strictly necessary for voice control, but it is helpful for troubleshooting to be able to see what the model thinks it is hearing.
The models used for transcription and embedding are determined based on the CLI arguments documented above. The embedding model is used to initialize an instance of IntentRecognizer. The transcription model is used to create a MicTranscriber. The MicTranscriber has listeners added for both the transcript_printer and the intent_recognizer causing it to print as it works, and scan for the specified intent trigger phrases.
Setting up voice commands is a two part process:
Here is the relevant code for the disco party command. Inside the callback function it prints a message and sets the global variable run_disco_animation to True. This variable gets checked in the main loop to control whether the disco animation will run on the NeoPixels.
# Disco Party animation setup
disco_party = ColorCycle(pixels, speed=0.35, colors=[_[1] for _ in colors[:8]])
run_disco_animation = False

# ...

def on_disco_party(trigger: str, utterance: str, similarity: float):
    """
    Intent trigger listener callback function for Disco Party command.
    Enables the disco party animation boolean.
    """
    print("###########################")
    print(f"# {trigger} - {utterance} - {similarity}")
    print("# Disco Party!")
    print("###########################")
    global run_disco_animation
    run_disco_animation = True


# Register intents with their trigger phrases and handlers
intents = {
    "disco party": on_disco_party,
}

# ...

for intent, handler in intents.items():
    intent_recognizer.register_intent(intent, handler)
In the code for this project, the commands are first gathered into a dictionary variable intents. Then a for loop is used to iterate over them registering each with the intent_recognizer.
The disco party command is the only one that is hard-coded directly.
All of the light color callbacks are created dynamically in order to reduce copy/pasted boilerplate code.
The color words and RGB values are first defined in a list of tuples.
colors = [
    ("red", (255, 0, 0)),
    ("blue", (0, 0, 255)),
    ("green", (0, 255, 0)),
    ("yellow", (255, 255, 0)),
    ("orange", (255, 95, 0)),
    ("pink", (255, 0, 255)),
    ("purple", (90, 0, 255)),
    ("turquoise", (0, 255, 255)),
    ("off", (0, 0, 0)),
    ("black", (0, 0, 0)),
]
The word "off" is registered as the color black (0, 0, 0) meaning it will turn the LEDs off.
The higher order function build_lights_color_callback_function() is defined to build the callback functions for each of the colors. In Python, functions can be treated as normal variables. This function defines a new function into a variable and then returns it. It takes a tuple argument containing color word and RGB value from list of colors and creates an appropriate callback function for the color specified.
def build_lights_color_callback_function(input_data):
    """
    Given a tuple with color name, and RGB values like:
    ("red", (255, 0, 0))
    Create and return an intent trigger callback function
    that turns the NeoPixels the specified color.
    """

    def lights_color_callback(trigger: str, utterance: str, similarity: float):
        print("###########################")
        print(f"# {trigger} - {utterance} - {similarity}")
        print(f"# Turning lights {input_data[0]}")
        print("###########################")
        global run_disco_animation
        run_disco_animation = False
        pixels.fill(input_data[1])
        pixels.show()

    return lights_color_callback
A for loop is used to create entries in the intents dictionary for each of the colors. For each color, two entries are created: "lights [color_word]" and "[color_word] lights". During testing I found that some colors work better when they're said before "lights" and others work better the other way around. Defining commands for both allows for flexibility when speaking and increases the chances that intent recognizer will find a match on any phrases that have a similar meaning.
for color in colors:
    intents[f"lights {color[0]}"] = build_lights_color_callback_function(color)
    intents[f"{color[0]} lights"] = build_lights_color_callback_function(color)
The same for loop mentioned in the disco party command section also registers all of the light color commands since they're all in the same intents dictionary.
for intent, handler in intents.items():
    intent_recognizer.register_intent(intent, handler)